Getting Started
You can be up and running in about five minutes.
Step 1 — Download the App
CanWePlayIt is available for iPhone and Android.
Step 2 — Create Your Account
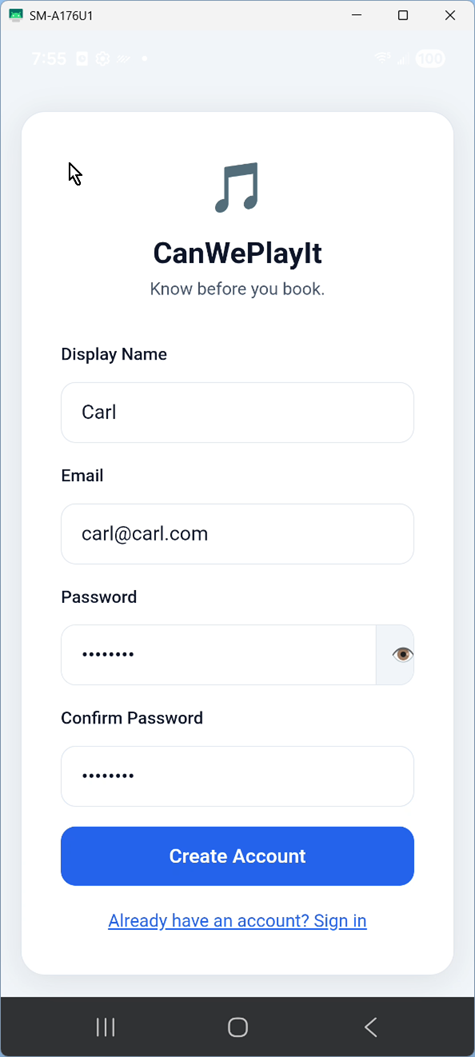
Open the app and tap Create Account. Enter your name, email address, and a password. You'll receive a short verification email with a 6-digit code. Enter that code in the app to finish creating your account.
Once verified, you'll land on the home screen. What you do next depends on your role in the band.
If You're a Band Leader
Create Your Band
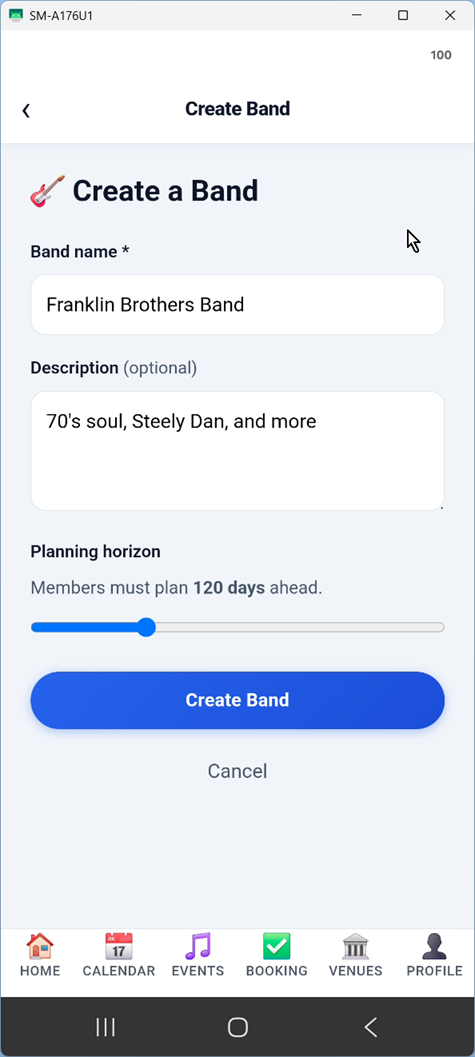
Tap Create a Band on the home screen and give it a name. You're automatically set as the leader.
Invite Your Members
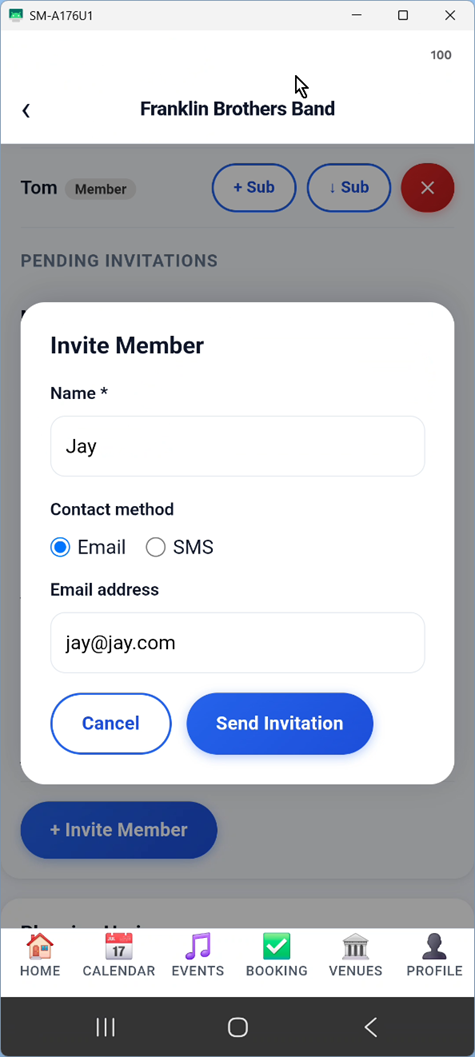
Tap Invite Member, enter each person's name, and choose email or SMS as the contact method. They'll receive an invitation and can join once they've created their account. If they already have the app, the invitation appears on their home screen right away.
You can also invite standing substitutes for specific members. The app labels those links clearly, such as Bill (Sub for Jay), so booking checks know exactly who each sub covers.
Add Your Venues
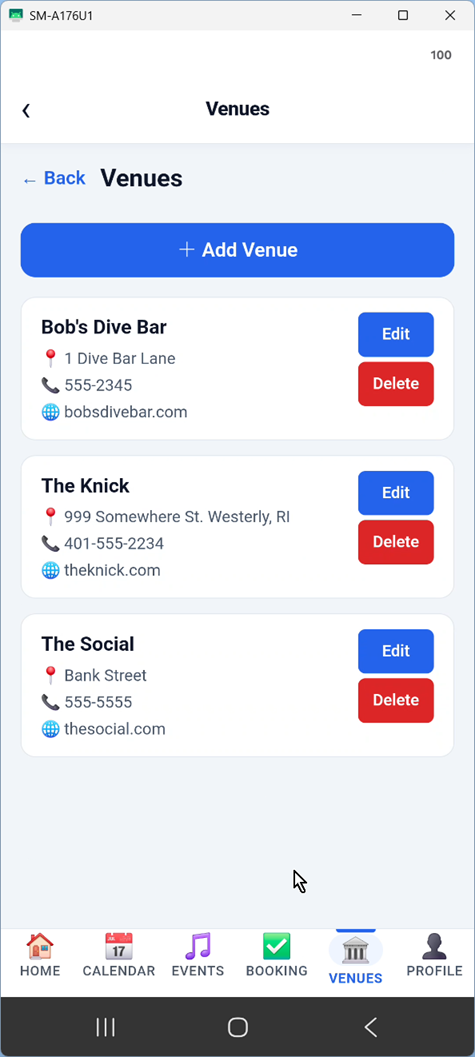
Tap the Venues tab and add the places your band plays. Each entry can hold a name, address, phone, and website — so every member always has the details for any gig.
Check Your First Date
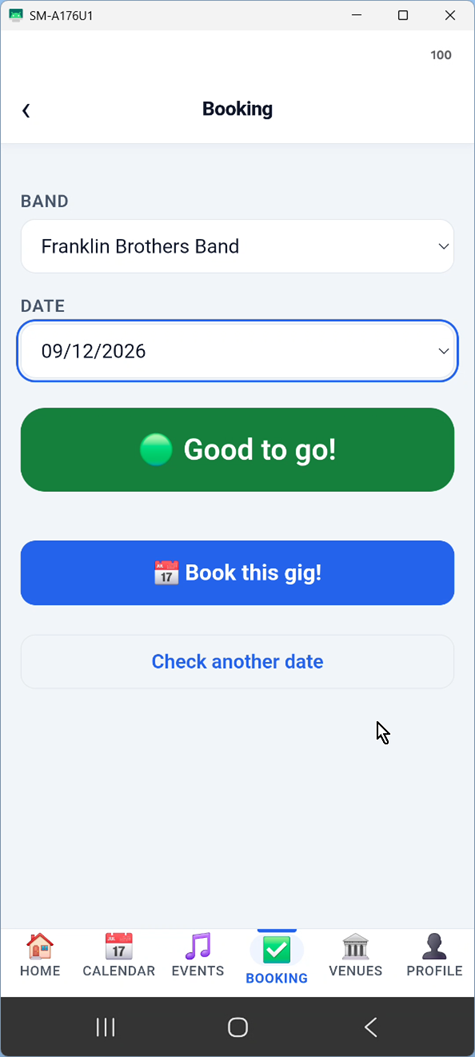
Once members are in and have set their availability, tap the Booking tab and enter a date to check. Green means you're good to book. Create the event from a saved venue, then the app takes you straight to Event Details so you can send confirmation requests and watch members respond.
If a member later needs a one-gig sub, they can send that request from Event Details without changing the standing sub setup.
If You're a Member
Respond to Your Invitation
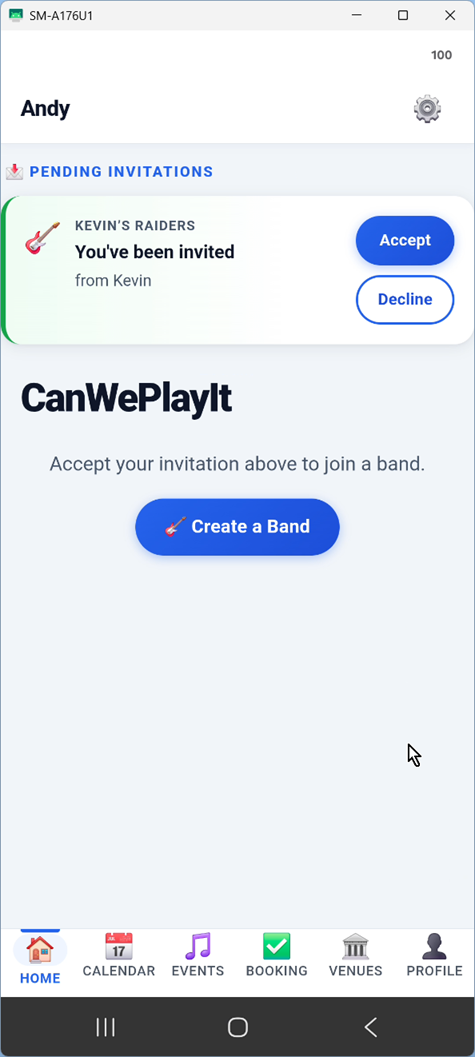
Your leader will send you an email or SMS invite. After creating your account, the invitation appears on your home screen. If you're already signed in, the app can show it immediately. Tap Accept to join the band, or tap Decline and add an optional note if you can't join.
Mark Your Unavailable Dates
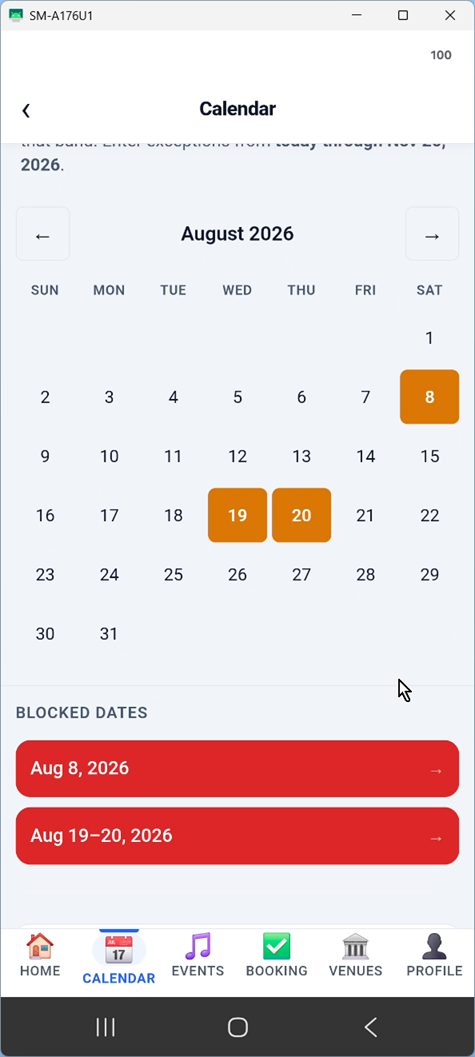
Tap the Calendar tab and mark any dates you cannot play. Also set your covered through date at least two to three months out so your leader knows your data is current.
You're Done
That's it. Keep your calendar updated whenever something changes and your leader can check booking availability any time — without ever having to ask you. You can view events and venue details for your bands, but booking gigs, managing venues, and sending confirmations are leader actions.